The recent 7.4 release of the ELK stack now includes the ability to snapshot (backup) and restore indices from within Kibana as well as manage repositories and policies. In this walkthrough we’ll configure Elasticsearch to snapshot to an Amazon S3 bucket. Note that Azure and Google Cloud are supported as well.
In short we’ll be creating a new S3 bucket, creating an IAM account with permissions to just the new bucket, installing the Elasticsearch S3 Repository Plugin, creating a repository, and creating an associated Policy to specify which indexes to backup and how often. I’ll then test restoring a single index with a new name.
Configure AWS
Let’s start by logging into AWS and navigating to S3.
Create a new S3 bucket. I’m calling mine “filebeat-backup”.
Accept all the other defaults and create the bucket.
Now navigate to IAM in the AWS console.
Users > Add User.
I’m naming my user es-backup and giving the account Progmatic Access.
On the Set Permissions screen select Attach existing policies directly.
Click the Create policy button.
A new window opens. Click JSON tab.
Copy over the plugin’s recommended policy and be sure to change the bucket name (arn:aws:s3:::filebeat-backup) twice.
{
  "Version": "2012-10-17",
  "Statement": [
    {
      "Action": [
        "s3:ListBucket",
        "s3:GetBucketLocation",
        "s3:ListBucketMultipartUploads",
        "s3:ListBucketVersions"
      ],
      "Effect": "Allow",
      "Resource": [
        "arn:aws:s3:::filebeat-backup"
      ]
    },
    {
      "Action": [
        "s3:GetObject",
        "s3:PutObject",
        "s3:DeleteObject",
        "s3:AbortMultipartUpload",
        "s3:ListMultipartUploadParts"
      ],
      "Effect": "Allow",
      "Resource": [
        "arn:aws:s3:::filebeat-backup/*"
      ]
    }
  ]
}
Give the new policy a name.
Close this window and go back to the window to set permissions. Hit the refresh button and search for your new policy name. Check the box next to it and hit Next.
No tags. Create User.
Be sure to copy the access key and secret key from the next screen and then hit Close.
Configure Elasticsearch Nodes
You’ll have to perform the following on each of your Elasticsearch nodes.
SSH to the first node and execute the following to install the S3 plugin.
sudo bin/elasticsearch-plugin install repository-s3
You should see the following:
[root@1375dd8ff618 bin]# elasticsearch-plugin install repository-s3
-> Downloading repository-s3 from elastic
[=================================================] 100%??
@@@@@@@@@@@@@@@@@@@@@@@@@@@@@@@@@@@@@@@@@@@@@@@@@@@@@@@@@@@
@     WARNING: plugin requires additional permissions     @
@@@@@@@@@@@@@@@@@@@@@@@@@@@@@@@@@@@@@@@@@@@@@@@@@@@@@@@@@@@
* java.lang.RuntimePermission accessDeclaredMembers
* java.lang.RuntimePermission getClassLoader
* java.lang.reflect.ReflectPermission suppressAccessChecks
* java.net.SocketPermission * connect,resolve
* java.util.PropertyPermission es.allow_insecure_settings read,write
See http://docs.oracle.com/javase/8/docs/technotes/guides/security/permissions.html
for descriptions of what these permissions allow and the associated risks.

Continue with installation? [y/N]y
-> Installed repository-s3
We now need to add our AWS IAM credentials to the Elasticsearch keystore with the following commands.
bin/elasticsearch-keystore add s3.client.default.access_key
bin/elasticsearch-keystore add s3.client.default.secret_key
You should see the following:
[root@1375dd8ff618 bin]# elasticsearch-keystore add s3.client.default.access_key
Enter value for s3.client.default.access_key:
[root@1375dd8ff618 bin]# elasticsearch-keystore add s3.client.default.secret_key
Enter value for s3.client.default.secret_key:
If you paste in a value you won’t see it appear on the screen, don’t worry it’s there, just hit Enter after you paste it.
Now reboot this node and make sure the cluster health is back to green before moving on to the next node.
Once all the nodes have rebooted and the Cluster state is green open Kibana Dev Tools and run:
POST _nodes/reload_secure_settings
Configure the Repository and Policy
Note that I just intend to backup my filebeat-* indices with the policy below. If you want to backup all your indices it’s even simpler as that’s the default.
In Kibana navigate to Management > Snapshot and Restore.
Select the Repository tab and press Register a Repository.
You should see AWS S3 listed next to “Shared file system” and “Read-only URL”.
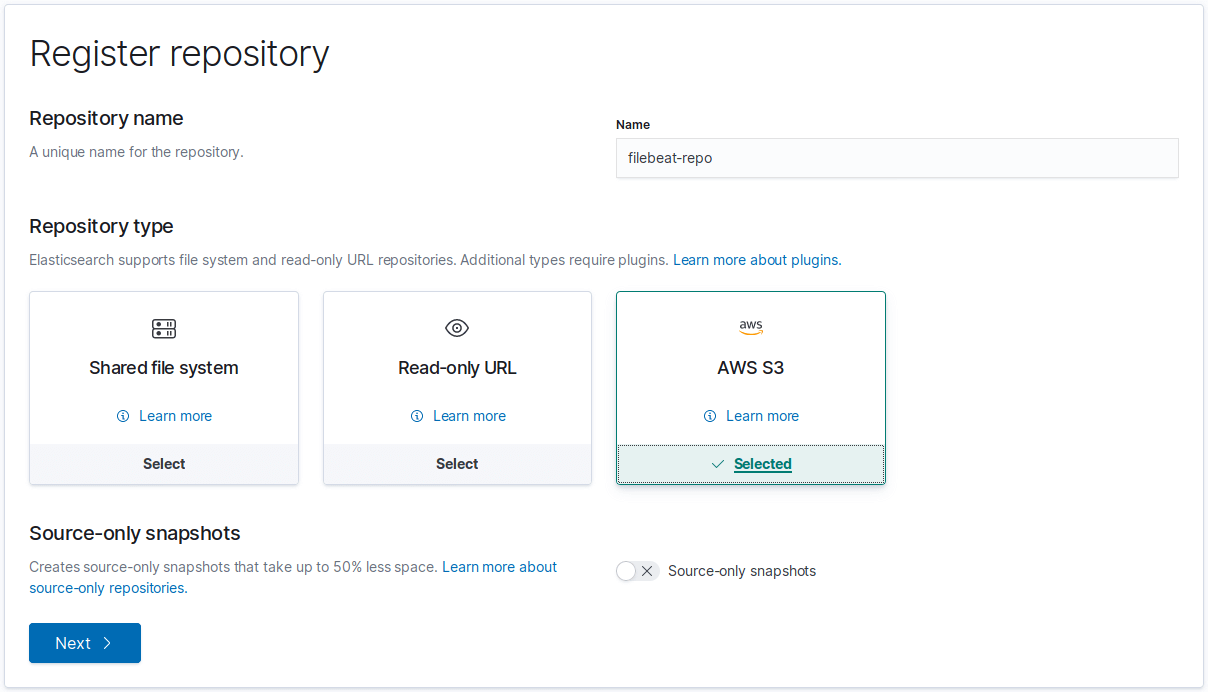
Give the repository a name (I chose “filebeat-repo”) and select AWS S3.
Fill in the AWS Bucket name (For me that’s “filebeat-backup”).
It will use a client name of default by default which is fine since that’s the key you set in the keystore earlier.
Save the repo and hit the Verify button. It should show all of your nodes as Connected.
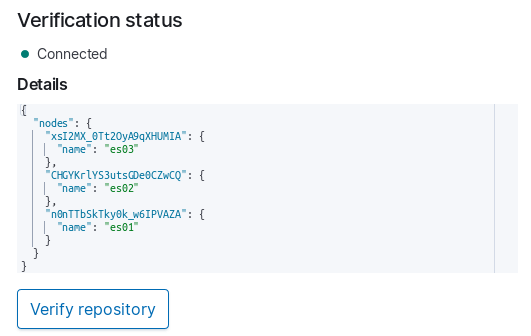
Now in Kibana go to the Policies tab under Snapshot and Restore.
Click Create a Policy.
Name: daily-filebeat
Snapshot name: <daily-filebeat-{now/d}>
Repository: filebeat-repo
Schedule: default (9:30 PM)
On the snapshot settings page de-select All Indices and typed in filebeat-*. You can choose to leave All Indices selected.
Be sure you’re selecting Index Patterns and not individual Indices when you do this.
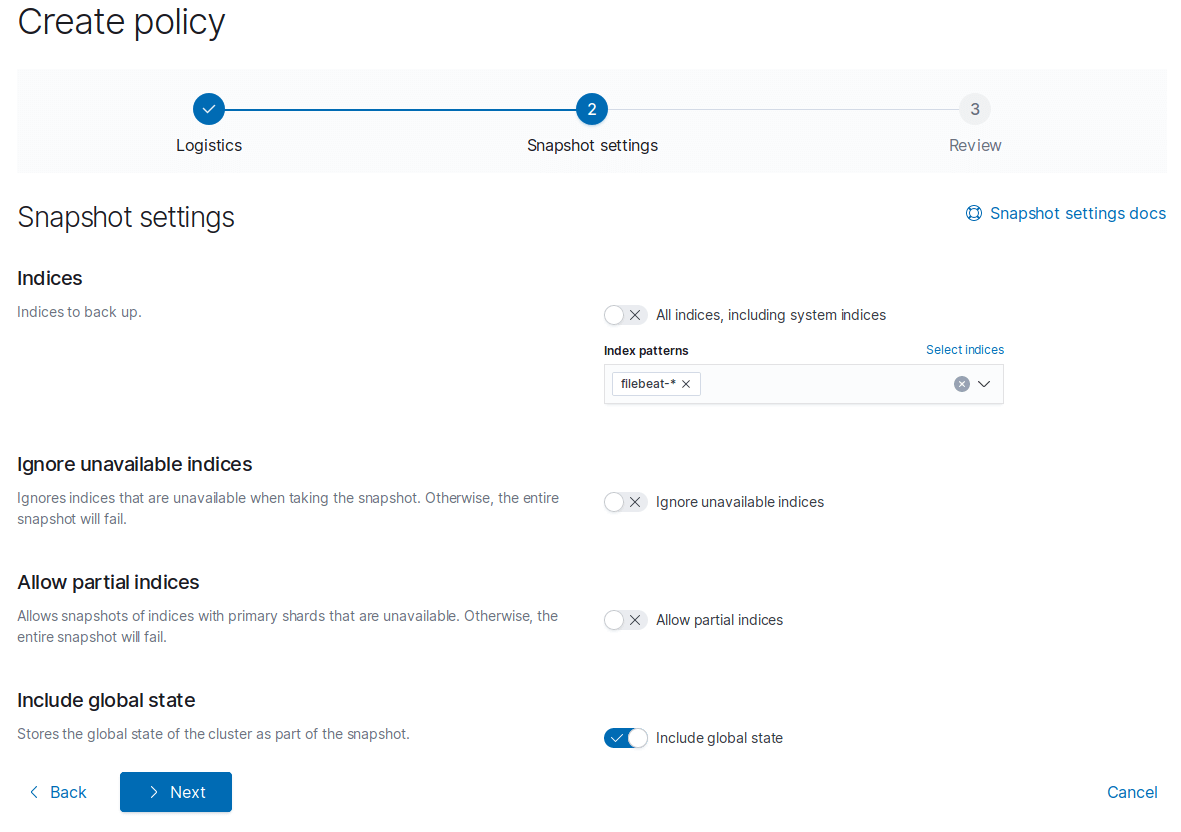
Create the policy.
On the Policies tab click the play button next to your new policy in order to run it now.
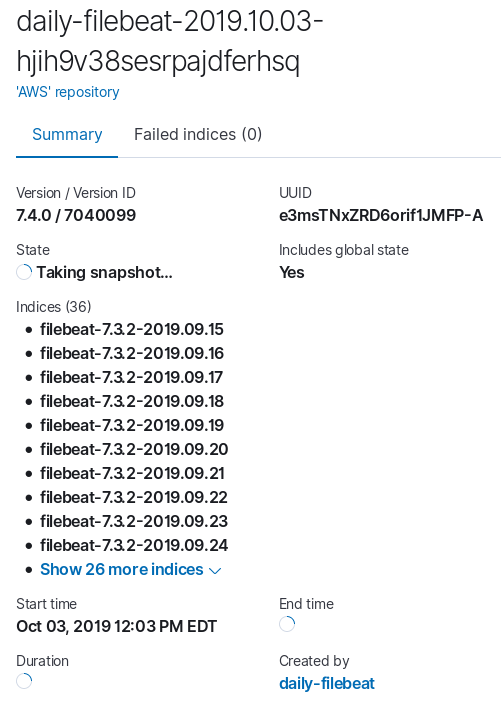
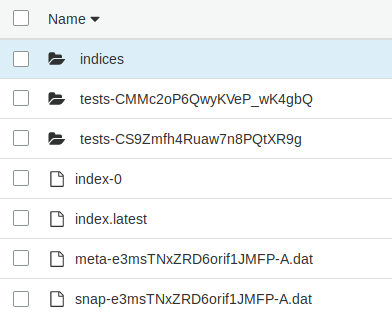
Once complete, if you go back to the AWS console and check the bucket Overview tab you should see new files.
Restoring
Let’s test restoring a single Index to a new Index name.
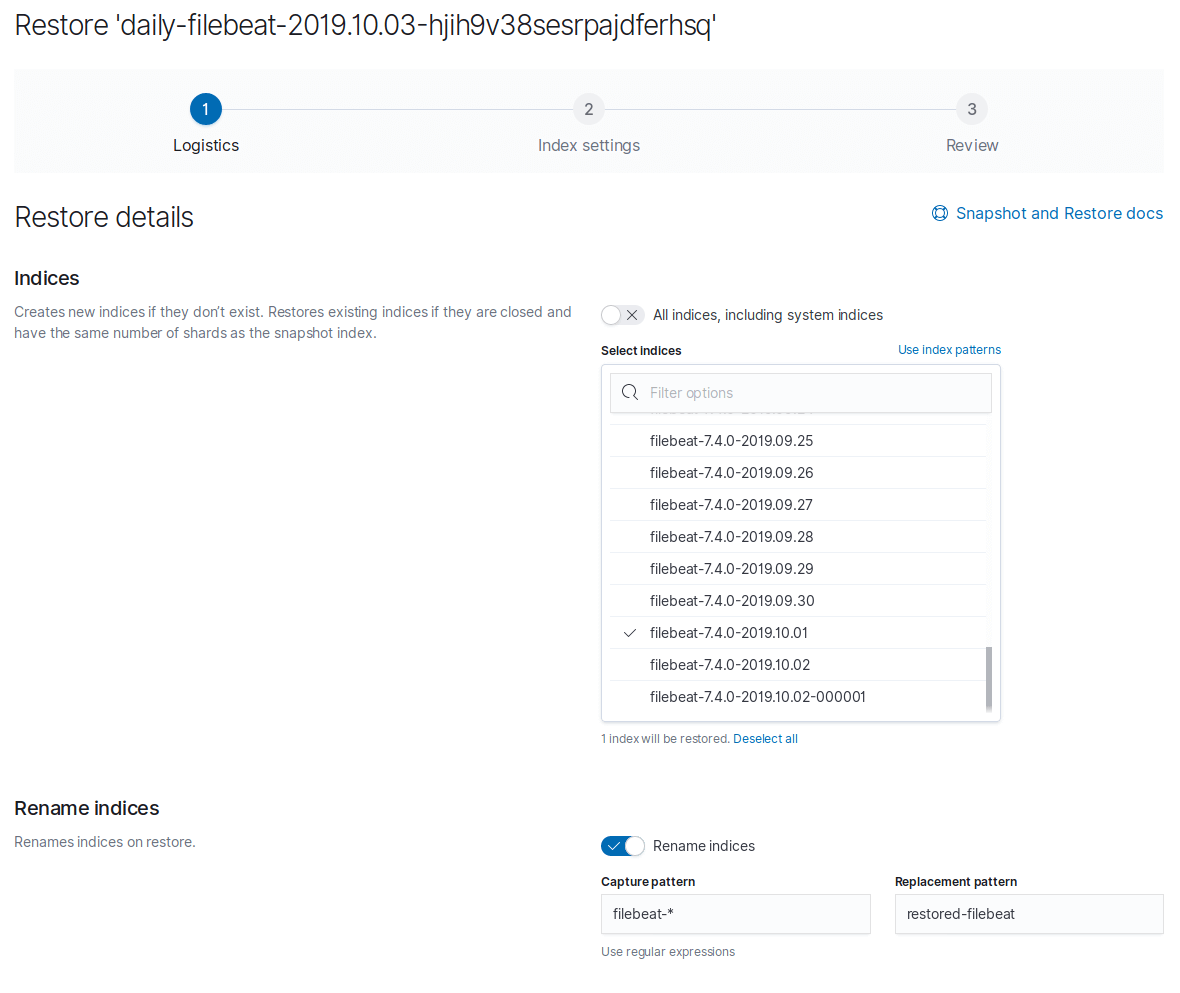
Go to the Snapshots tab and to the far right click the down arrow next to the trashcan to start a restore.
I’m selecting just a single Index and underneath I’m selecting the option to rename indices. I then supply the original name pattern and my new name. Note that I used restored-filebeat but should have used restored-filebeat-.
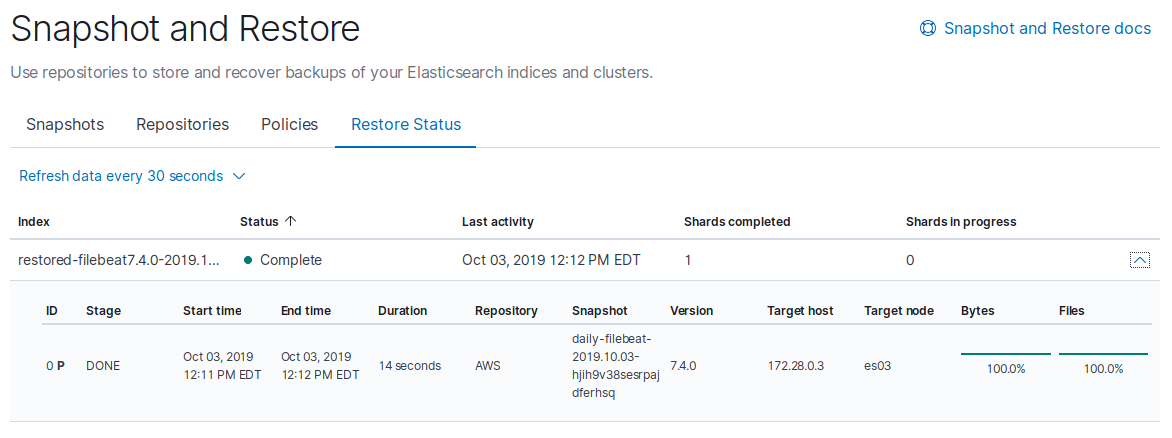
Start the restore and watch the progress.

You’ll see when the restore is complete.
Now go check that the new Index name exists.

I then created a Kibana Index pattern for restore-* and after adjusting my timeframe verified that all the logs were present.